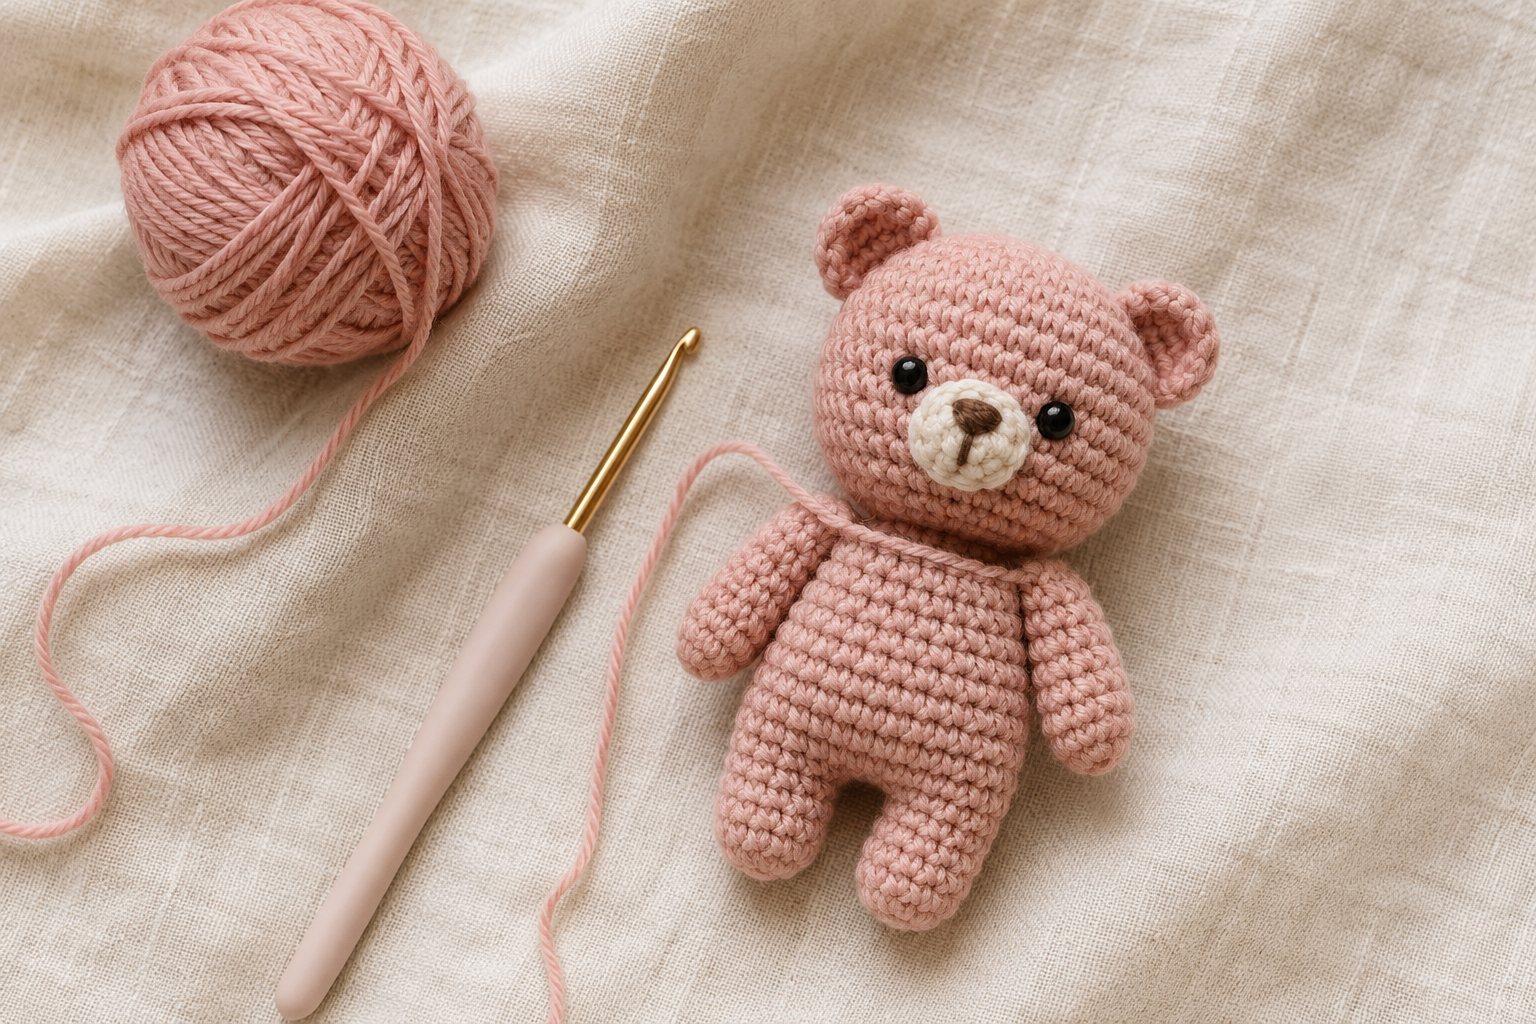
Amigurumi — the Japanese art of crocheting small stuffed animals and characters — might look complicated, but the truth is it's one of the most beginner-friendly forms of crochet there is. If you can learn just four or five stitches, you can make a complete amigurumi toy. This guide covers everything you need to know, from gathering your tools to stuffing and seaming your very first finished piece.
Whether you've never held a crochet hook before or you've crocheted flat items like dishcloths and scarves but haven't ventured into 3D yet, you're in the right place. Let's start at the very beginning.
What Is Amigurumi, Exactly?
The word amigurumi comes from the Japanese words ami (crocheted or knitted) and nuigurumi (stuffed doll). The style originated in Japan and has spread worldwide — and for good reason. Unlike flat crochet projects, amigurumi is crocheted almost entirely in continuous rounds, which means no seams running down your work and a wonderfully clean, dense fabric that holds its shape perfectly when stuffed.
The finished fabric is tight enough that the polyfill stuffing inside won't poke through the stitches. That tightness is the key goal, and it influences every decision you'll make about hooks and yarn.
The Tools You Actually Need
One of the great joys of amigurumi is how little you need to get started. Here's a rundown of the essentials.
Crochet Hook
For most amigurumi yarn, you'll want a hook that's one or two sizes smaller than the yarn label recommends. This creates a tighter, denser fabric with no gaps for stuffing to escape through. If you're using standard DK weight or worsted weight yarn, a 3.5mm to 4mm hook is a good starting point.
Ergonomic hooks with a soft rubber or silicone grip are worth every penny — your hands will thank you after a long crocheting session.
Ergonomic Crochet Hook Set
A full set of ergonomic hooks with comfortable grip handles covers every yarn weight you'll ever use. Look for a set that includes 2mm–6mm in cushioned handles — it's a one-time investment that makes a real difference.
Find on Amazon →Affiliate link — I earn a small commission at no cost to you.
Yarn
Yarn choice is one of the most important decisions in amigurumi. Two types work best:
- Cotton yarn — gives crisp stitch definition, great colour saturation, and a smooth finish. It's heavier and less stretchy than acrylic, which some people find easier to manage. Paintbox Simply Cotton and Scheepjes Catona are popular choices.
- Anti-pilling acrylic — soft, widely available, and comes in hundreds of colours. Brands like Paintbox Simply DK or Lion Brand Pound of Love are go-to recommendations. Avoid cheap, scratchy acrylics — the rough texture makes the stitches look messy.
Start with a light coloured, smooth yarn. Dark colours or fuzzy/bouclé textures make it almost impossible to see your stitches when you're learning.
Amigurumi Yarn Starter Set
A starter set of 100% cotton yarn in assorted colours is ideal for your first few projects. Cotton holds its shape beautifully and the stitch definition makes it easy to count and learn from.
Find on Amazon →Affiliate link — I earn a small commission at no cost to you.
Safety Eyes
Safety eyes are the plastic eyes that screw into your amigurumi to give them that characteristic soulful look. They come in two parts: the eye itself and a flat washer that snaps onto the back, locking it permanently in place. Common sizes for standard amigurumi are 6mm, 9mm, and 12mm.
Important: always attach safety eyes before you finish stuffing and close your work — once the washer is on, it cannot be removed without cutting the yarn.
If you're making amigurumi for children under three years old, embroider eyes with black yarn instead of using plastic safety eyes — safety eyes can be a choking hazard for very young children despite the name.
Safety Eyes Assortment Pack
A mixed pack of safety eyes in sizes from 6mm to 18mm means you're covered for everything from tiny mice to chunky bears. Look for a set that includes black, blue, brown, and green to give you options.
Find on Amazon →Affiliate link — I earn a small commission at no cost to you.
Other Essentials
- Polyfill stuffing — the same kind used in cushions and soft toys. It should be light and airy, not dense batting.
- Tapestry needle — a blunt-tipped needle with a large eye, used to weave in ends and to sew pieces together where needed.
- Stitch markers — clips or rings that mark the beginning of each round. Absolutely essential for keeping count.
- Scissors — small, sharp embroidery scissors give you the most control.
The Essential Stitches for Amigurumi
Here is the good news: you need to know exactly five things to crochet the vast majority of amigurumi patterns. Everything else is a variation or combination of these basics.
1. The Magic Ring (Magic Circle)
Almost every amigurumi piece begins with a magic ring, also called a magic circle or adjustable ring. It creates a tight, closeable loop from which you work your first round of stitches. Unlike a simple chain start, a magic ring leaves no hole in the centre of your work — essential for a clean-looking toy.
The technique looks tricky in photos but takes less than five minutes to learn with a video. Once it clicks, you'll do it automatically every time.
2. Chain (ch)
The foundation of all crochet. In amigurumi you use chains mostly for handles, straps, or small decorative features — the main body is always worked in rounds. Still worth getting comfortable with from day one.
3. Single Crochet (sc)
This is the cornerstone stitch of amigurumi. Roughly 90% of every pattern you'll ever encounter is made entirely in single crochet. It creates the densest, most regular fabric and is the easiest stitch to count. Master this one stitch and you can make almost anything.
4. Increase (inc)
Working two single crochets into the same stitch. This adds a stitch to your round and is how you create curves — turn a flat circle into a sphere, for example. Written as inc in patterns.
5. Decrease (dec) — Invisible Decrease
Working two stitches together to reduce your stitch count. The invisible decrease method (inserting through the front loop only of two stitches before completing the decrease) is much neater than the standard method and leaves almost no visible line on the surface. It's the single technique upgrade that makes the biggest difference to how professional your amigurumi looks.
How Amigurumi Rounds Work
Unlike many crochet projects, amigurumi is worked in continuous spirals rather than joined rounds. You never chain and join at the end of a round — instead you just keep going, which is why stitch markers are so important. Place your stitch marker in the first stitch of each round and move it up as you go.
Most patterns are written using US crochet terminology. If you're following a European or UK pattern, be aware that "double crochet" in UK terminology means the same stitch as "single crochet" in US terminology. It's a common source of confusion — always check which standard your pattern uses.
Count your stitches at the end of every single round, not just occasionally. Catching a missed stitch or accidental increase five rounds later — when the shape has already gone wrong — is far more frustrating than a quick count now.
Reading Your First Pattern
Amigurumi patterns use a standardised shorthand. Here's what the most common lines mean:
- MR, 6 sc — Start with a magic ring, work 6 single crochet into the ring. (6 stitches total)
- Round 2: inc 6 times (12) — Increase in every stitch. The number in brackets is your new stitch count.
- Round 3: (sc, inc) × 6 (18) — Repeat the sequence inside the brackets 6 times.
- Round 10: sc around (18) — Work one single crochet in every stitch, no increases or decreases. Often used to build height without changing width.
- FO, leave long tail — Fasten off and leave a length of yarn for sewing.
The stitch count in brackets at the end of each round is your checkpoint. If your count doesn't match, you've made an error somewhere in that round — better to find it now.
Stuffing and Shaping
How you stuff your amigurumi makes a huge difference to the final result. Understuffed pieces look flat and floppy; overstuffed pieces stretch the stitches so badly that the white stuffing peeks through.
The goal is a firm, smooth shape where the stuffing fills the piece completely but doesn't strain the stitches. Add stuffing in small amounts as you work — it's much easier to add a little at a time than to try to force too much in at the end. For tight corners and narrow limbs, use a pencil or the blunt end of your crochet hook to push stuffing into the far end.
Finishing: Assembly and Face Details
Once all your pieces are crocheted, stuff, and the safety eyes are locked in, you're ready to assemble. Most patterns involve sewing parts together with a tapestry needle and a length of yarn. Use the same yarn as the piece you're attaching — this hides the stitches far better than a contrasting colour.
For face details like noses, mouths, and eyebrow markings, use black or brown embroidery floss or a thin strand of yarn. A French knot makes a good nose; backstitch works well for a simple smile. Take your time with this step — the face is what gives your amigurumi personality.
Pin all your pieces in place and take a photo. Moving an eye or an ear by just a few millimetres completely changes the character's expression. It's worth spending five minutes getting the placement right before you commit to sewing.
Your First Pattern: What to Look For
When choosing your very first amigurumi pattern, look for:
- A simple round body — balls and spheres are the easiest shapes to learn from.
- Minimal separate pieces — fewer limbs mean fewer seams to sew.
- Clear stitch counts — patterns that list the total after every round are beginner-friendly.
- Step-by-step photos — especially helpful when learning a new technique.
If you're looking for a great first project, my Etsy shop has a few patterns that were designed specifically with beginners in mind. The Amigurumi Frog, for example, is almost entirely made of basic rounds — a satisfyingly round body, simple legs, and only four separate pieces to assemble. It's achievable in a weekend even for a total beginner.
Common Beginner Mistakes (And How to Avoid Them)
Not counting stitches
Already mentioned above, but worth repeating. Use a stitch marker and count after every round. This single habit prevents 80% of beginner frustration.
Yarn too dark or textured
Choose a smooth, light-coloured yarn for your first project. You need to see the stitches clearly while you're learning — once you're confident, you can experiment with tweed yarns and deep jewel tones.
Hook too large
Using a hook that matches the yarn label recommendation will create a too-loose fabric. Aim for a noticeably tighter gauge than the label suggests.
Forgetting to attach safety eyes before closing
Safety eyes must be inserted from the outside in and secured on the inside before the opening closes. If you forget — it's happened to all of us — you'll need to unpick a few rounds of decreases to get back in.
You're Ready to Start
Amigurumi rewards patience and repetition. Your first finished piece might not be perfect — the tension might be uneven, or the face might be slightly wonky — and that is completely fine. The skills compound quickly once the muscle memory kicks in, and by your second or third project you'll be surprised at how natural it feels.
The most important step is simply to begin. Find a simple pattern, gather your tools, and make your magic ring. The rest will follow.
Looking for what to read next? Check out our guide on Best Yarn for Amigurumi for in-depth yarn recommendations, or browse the pattern shop for a project to practise on. Happy crocheting! 🧶
Marlene is the founder of AmigurumiGuide and the maker behind the AugenblickDruck Etsy shop. She writes practical, beginner-friendly tutorials based on years of making, unravelling, and learning what actually works.
Read more about Marlene →