Ask any amigurumi maker what their least favourite part of the process is, and the answer is almost always the same: sewing on the limbs. Threaded onto a tapestry needle, the tail end is woven back and forth through the body trying to create a join that's firm, straight, and — most importantly — invisible. It's painstaking work. And when it goes wrong, the whole character looks lopsided.
The good news is that there's another way. No-sew attachment techniques work the join directly into your crochet, either as you go or during a final assembly round, producing results that look cleaner than most sewn joins and hold far more securely. Once you learn them, you'll wonder why you ever threaded a needle at all.
Why No-Sew Works Better
Traditional sewn attachment requires you to anchor a yarn tail through multiple layers of fabric, which — no matter how carefully you do it — creates a slight lumpiness under the surface. The join point is also a weak spot: if the tail works loose, the limb can detach entirely.
No-sew joins, by contrast, integrate the limb directly into the crochet structure. The stitches of the arm or leg become part of the body fabric itself. There is no separate anchoring process, no buried tail to work loose, and no visible bump at the attachment point. The result looks like the toy was always one continuous piece.
Technique 1: The Crocheted-In Limb
This is the most versatile no-sew method and the one I use in most of my own patterns, including the Little Otter. The idea is simple: the arm or leg is crocheted separately, but instead of finishing it off and sewing it to the body, you hold it alongside the body piece and crochet around both simultaneously.
Step-by-Step
- Crochet your limb piece as instructed in the pattern. Fasten off but leave a long tail.
- Do not stuff the limb yet if it's a flat piece (some arms are intentionally flat — check your pattern).
- When you reach the row in the body pattern that says "attach arms" or "join limbs," flatten the limb piece so the opening aligns with the body fabric.
- Hold the limb against the outside of the body at the correct position, with the opening facing the body.
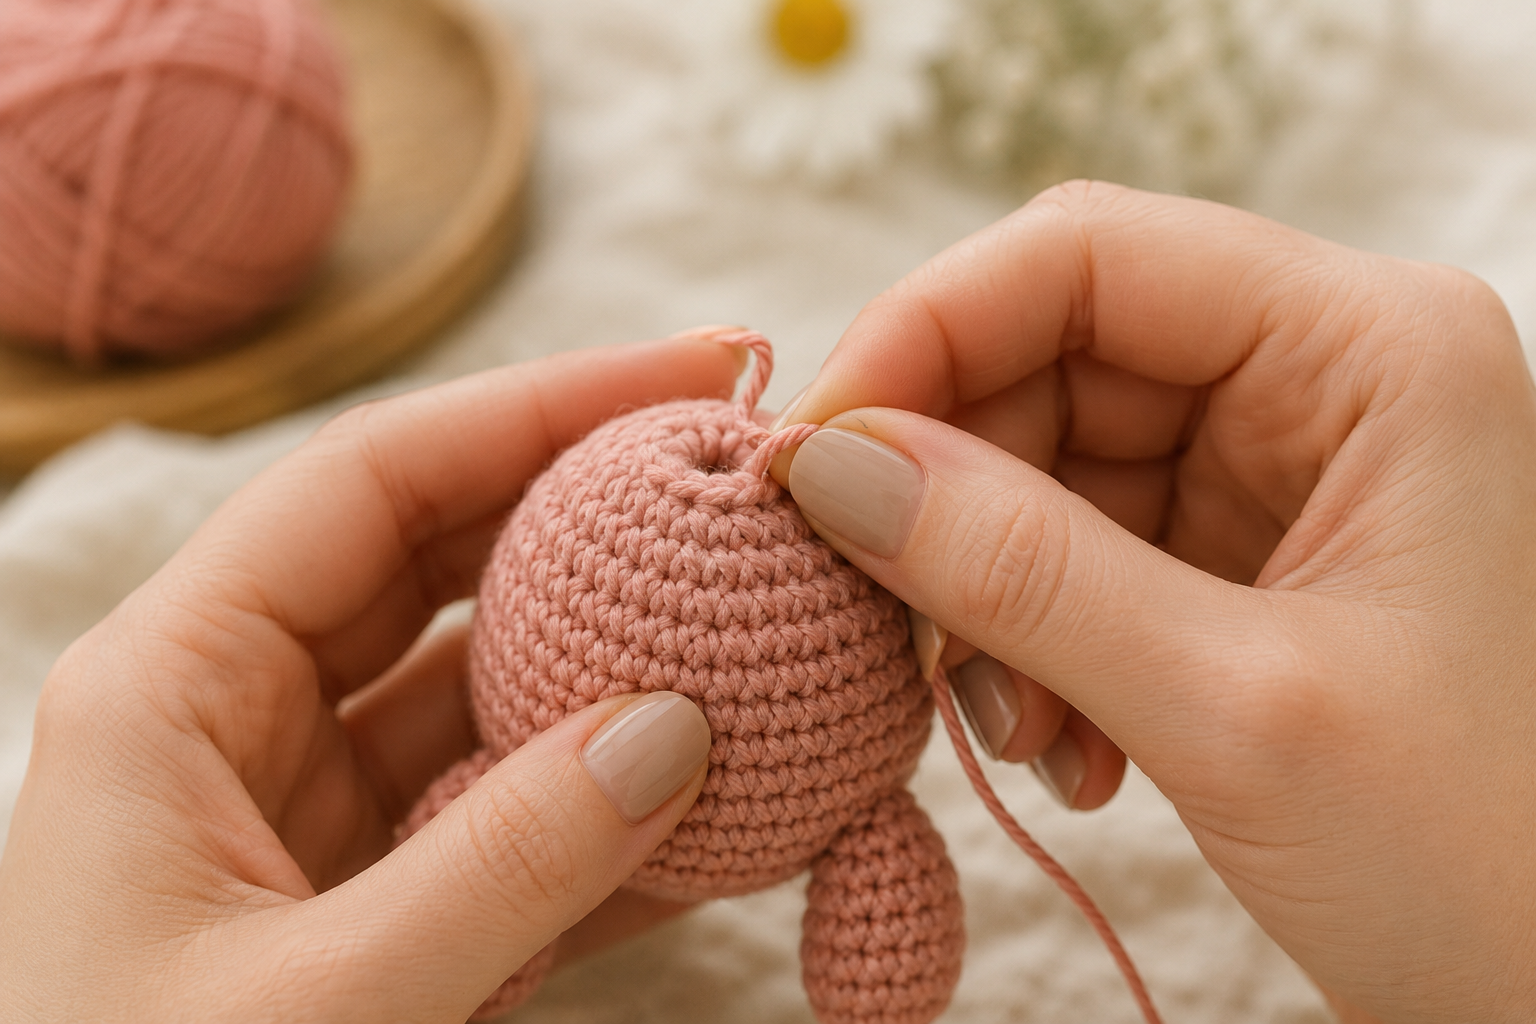
- On the next round of the body, crochet through both the body stitch and the corresponding stitch of the limb opening simultaneously. Continue for the number of stitches specified in the pattern.
- The limb is now permanently integrated into the body without a single sewn stitch.
The result is a joint that moves slightly (giving the toy a natural, relaxed look) but is completely secure. There is no seam visible from the front.
Technique 2: The Flat Ear Join
Ears are one of the trickiest things to sew on neatly — they sit right on top of the head where any misalignment is immediately obvious. The flat ear join solves this elegantly.
Step-by-Step
- Crochet your ear pieces as directed. Leave the last round open — do not slip stitch to close.
- When you're working the final rounds of the head, pause when you reach the position where an ear should be attached.
- Pin the ear flat against the outside of the head to check position. The opening of the ear should face downward into the body of the head.
- Continue crocheting the head round, but work through both the head stitch and the corresponding ear stitch at the same time. Do this for as many stitches as the ear is wide.
- Complete the round as normal. The ear is now integrated into the head with no sewing required.
This technique is especially effective for rounded ears like those on bears, cats, and otters. The ear sits flush against the head with a beautifully clean edge.
Technique 3: The Loop Join
The loop join is useful when a limb needs to be positioned at a specific angle — for example, arms that sit slightly forward or legs that face outward. It's also very quick to execute.
Step-by-Step
- Crochet your limb and fasten off, leaving a long tail (about 30cm).
- Thread the tail onto a tapestry needle but don't sew it into the body fabric — instead, insert the needle at the entry point and bring it out exactly one stitch away.
- Loop the tail back through itself to create a locking knot at the entry point, then bury the tail inside the body.
- Repeat on the other side with the starting tail of the limb.
This isn't truly "sew-free" in the traditional sense, but it's much faster and more controllable than full sewn attachment, and the visible join point is minimal.
Technique 4: Continuous Body Construction
The ultimate no-sew approach is to design the toy so that arms, legs, and tail are never separate pieces at all. Instead, the body grows directly from the limbs in a continuous crocheted structure. This is more complex to follow in a pattern, but produces the most seamless results of all.
In practice, this works by crocheting each leg separately, then joining them to begin the body round. The legs become the foundation from which the body is built. Similarly, a tail can be started at the base of the body and worked upward as part of the body structure.
This technique is best suited for makers with some experience, since counting and tracking rounds becomes more complex. But once you've done it once, it transforms how you think about amigurumi construction.
Tips for Clean Results
- Mark your position carefully. Before you begin attaching, use stitch markers or a pin to mark exactly where the limb should sit. Symmetry is everything — eyes spot a 2mm misalignment immediately.
- Count your stitches twice. When working through two layers simultaneously, it's easy to accidentally skip a stitch on either layer. Count after every attach row.
- Use the same hook size. Your tension should be consistent throughout. If you change hook sizes mid-project (for example, a finer hook for face details), switch back before doing your joins.
- Stuff limbs before joining when possible. Once a limb is integrated into the body, adding stuffing becomes awkward. If the pattern allows, stuff the arms or legs first, then join.
- Practice on a swatch. If you've never tried a crocheted-in join before, make a small test piece first. It takes two or three attempts to feel natural.
When Traditional Sewing Is Still the Right Choice
No-sew methods are genuinely superior for most amigurumi, but there are a few situations where traditional sewing still makes sense:
- Jointed toys: If you want poseable, moveable joints (using plastic safety joints), those must be sewn or fastened mechanically.
- Very complex positioning: Sometimes a feature needs to sit at an unusual angle or be precisely centred — in those cases, pinning and sewing gives you more control.
- Embroidered details: Nose, mouth, and claw details are sewn on regardless — no-sew only applies to large structural pieces like arms and ears.
Try It on a Real Pattern
The best way to practise these techniques is on an actual project. My Little Otter pattern uses the crocheted-in limb method for the arms and the flat ear join for the ears — it's a great introduction to no-sew assembly because the pieces are small enough to handle easily and the instructions walk you through each join step by step.
Once you've tried it, you'll never go back to threading a tapestry needle for limb attachment again.